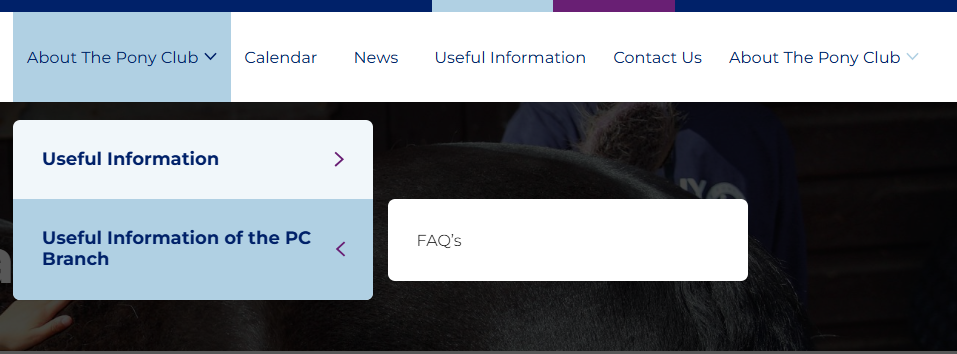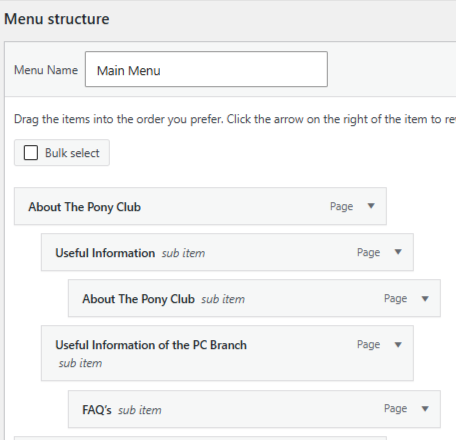
Navigation menus help visitors find information on your Branch website. A well-organised menu makes it easier for members, parents, volunteers and visitors to locate key information without searching through multiple pages.
As your website evolves, you may need to add new pages, remove outdated content or rearrange menu items to better reflect the structure of your Branch website.
This guide explains how to manage your website navigation and keep your menu organised and easy to use.
Understanding Navigation Menus
The navigation menu appears at the top of your website and acts as a roadmap for visitors. A good menu should help visitors quickly answer questions such as:
- How do I join?
- What events are coming up?
- Who do I contact?
- Where can I find documents?
- How do I book activities?
Before making changes, think about how a new visitor would browse your website.
Accessing the Menu Builder
To edit your website navigation bar:
- Log in to WordPress.
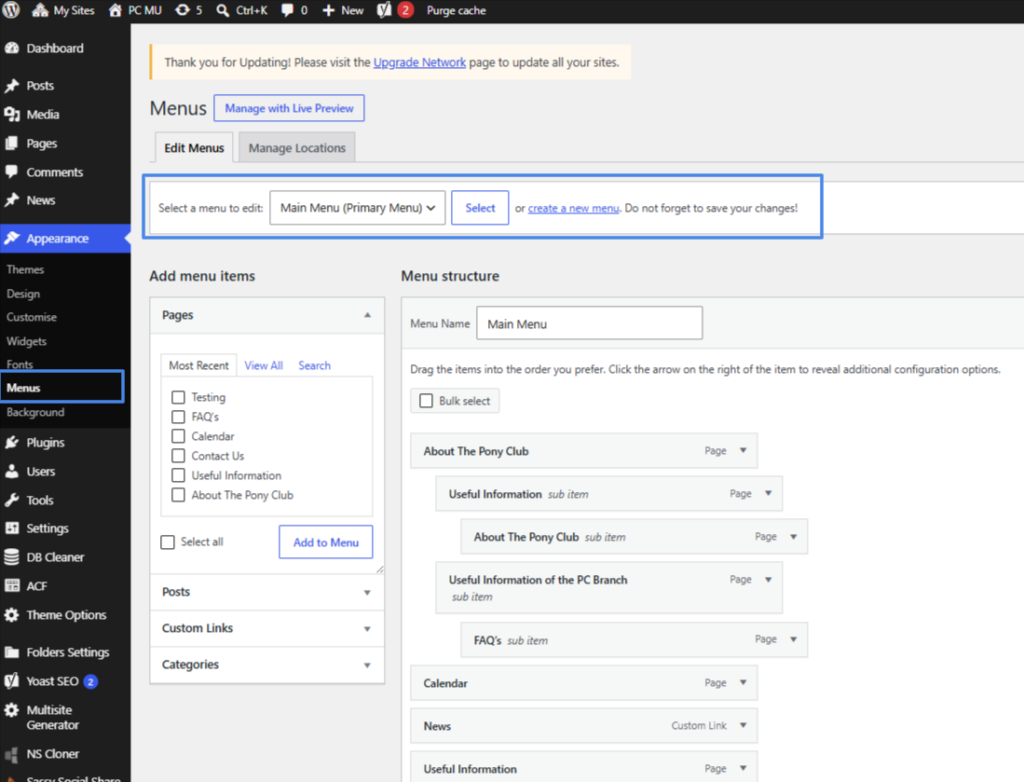
- Select Menu from the left-hand menu. Appearance > Menus
- Ensure that Main Menu (Primary Menu) is selected
- The current navigation structure will be displayed.
- From here you can add, remove and reorganise menu items
Adding a Page to the Menu
When you create a new page, it does not always appear automatically in the website navigation.
To add a page:
- Open the Menu Builder.
- Locate the Add Menu Items panel.
- Select the page you wish to add.
- Click Add to Menu.
- The page will appear within your menu structure.
- Save your changes
Creating Submenu Items
If your navigation becomes too crowded, related pages can be grouped underneath a parent item. We suggest no more than 9 navigation items.
For example:
Events
- Rallies
- Camps
- Competitions
About Us
- Committee
- Branch History
- Volunteers
Submenus help keep navigation tidy and prevent the top menu from becoming difficult to use.
To create a submenu:
- Drag a menu item slightly underneath another menu item.
- Indent it to the right.
- Save the menu.
The page will now appear as a dropdown item beneath the parent section.