We would recommend that you use Google Chrome when using PELHAM, ideally using a different ‘profile’ just for your Pony Club activities to keep it separate from your other personal or business accounts. To set up a new profile in Chrome, please follow the instructions here or view the video guide below.
Logging in to PELHAM
To access PELHAM visit the project site at https://pelham.pcuk.org and follow the “Branches Login” button at the top of the homepage.
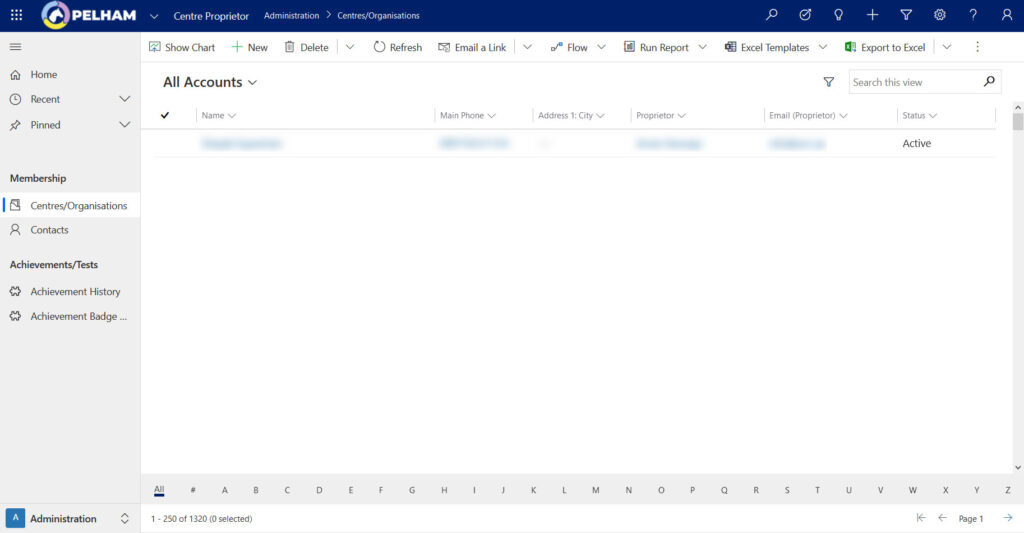
Once you are logged in, you will land on the ‘Active Centres’ page and your Centre Name will appear below.
Click your Centre Name and this will take you to the Centre Summary Page where you will find your Centre details.
Save some time!
Save the PELHAM project site to your web browser’s bookmarks/favourites listt – this will allow you quicker access each time you need to login or refer to the user guides.
How to Pin a frequently used page/view
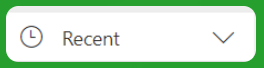
Click on arrow next to “Recent” on the top left of the screen:
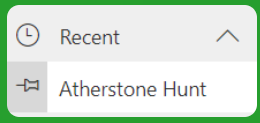
From the drop-down list that will appear click on the “Pin” symbol beside the relevant item, example Branch:
From the drop-down list that will appear click on the “Pin” symbol beside the relevant item, example Branch:
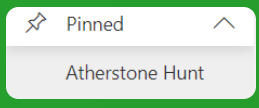
That view will now appear in the “Pinned” drop down list:
To unpin a view or record, click on the pin symbol
Centre Summary Page
Here you will find the following sections:
Centre Information
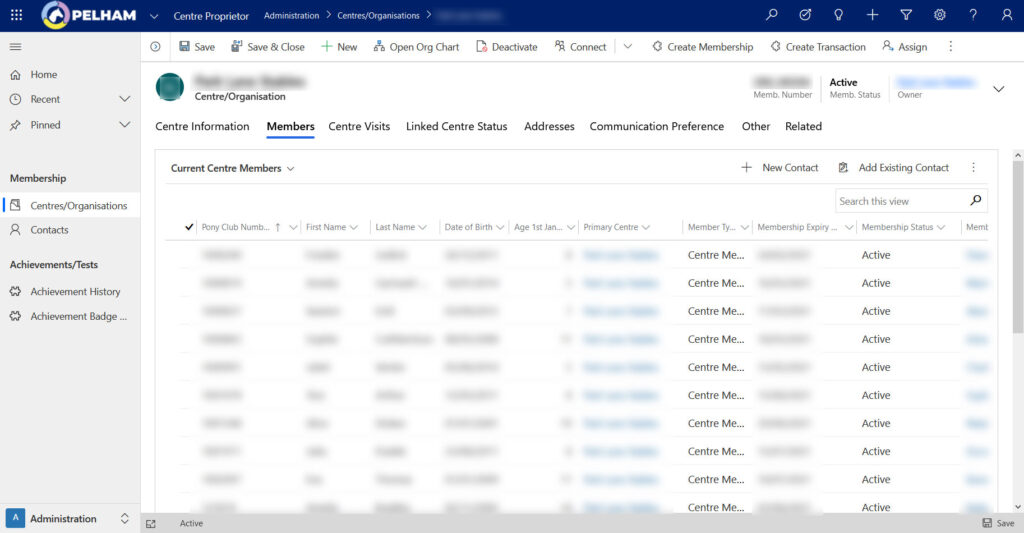
Members
Centre Visits
Linked Centre Status
Addresses
Other useful information
Within each section there are different views available, for example in the ‘Members’ section you can change from viewing the ‘Current Centre Members’ to ‘Members expiring within the next 3 months’ by clicking the arrow next to the heading.
Firstly, you need to select the individual’s record, from the main Centre Summary Page or using the search option on the right-hand side of your screen, as highlighted below:
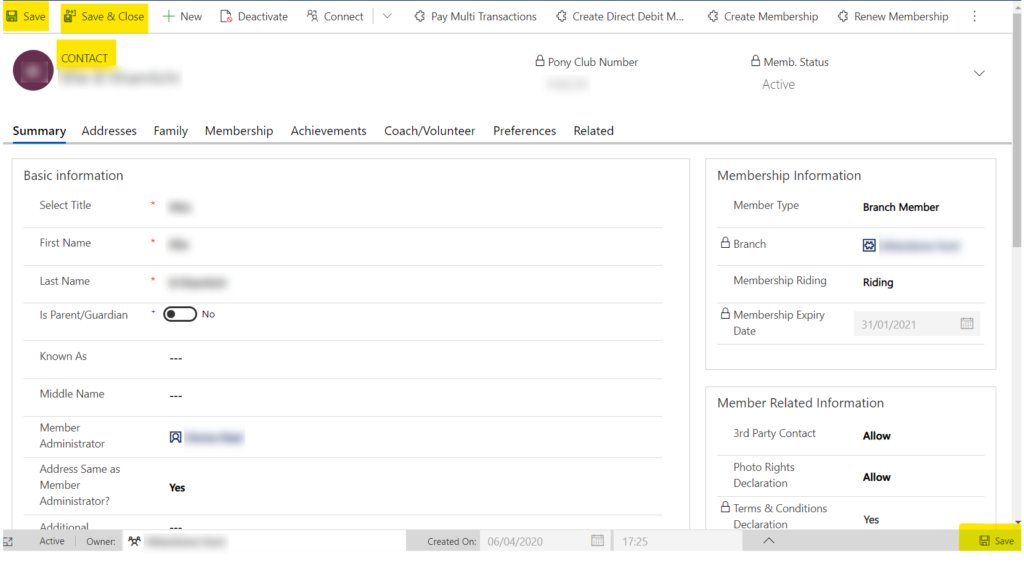
Double click on the contact’s name and you will be taken to their Pony Club record:
Wearing multiple hats
A contact can be an active member, expired member, parent, guardian, coach or volunteer. An individual contact can be allocated more than one contact role.
Don’t miss any info
Anything marked with a ‘*’ symbol means it’s a mandatory field.
Contact Page – Summary Tab
This tab contains the following information about a contact:
Personal Information: Title, First Name, Surname, DOB
Contact Details
Emergency Contact Information
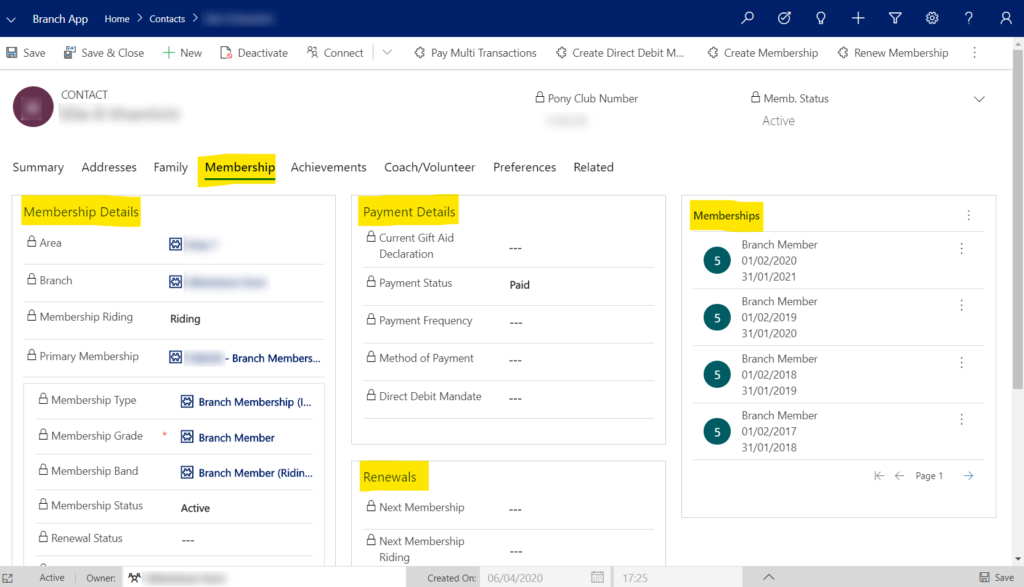
Contact Page – Membership Tab
This tab contains the following information about a contact:
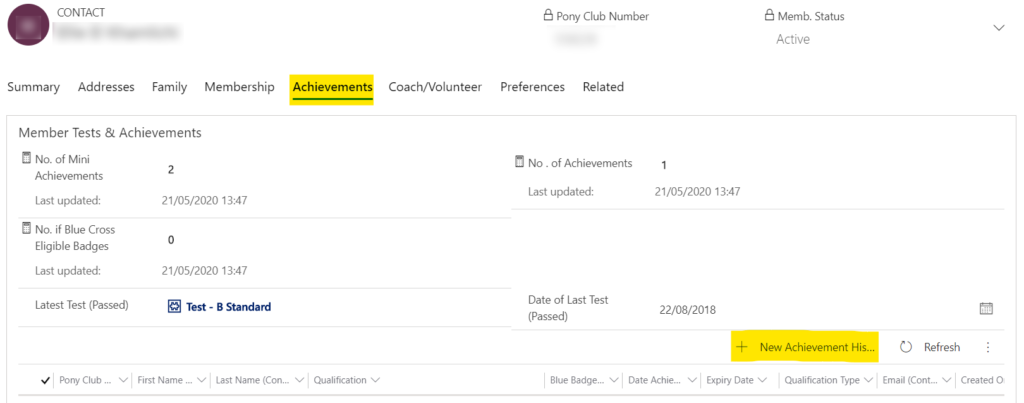
From the ‘Achievements’ tab click ‘+New Achievement History’ as highlighted below:
Power up your search!
When searching for a qualification it’s best to use an asterisk in front of the qualification, for example *Birds – this will search for any item which contains that word.
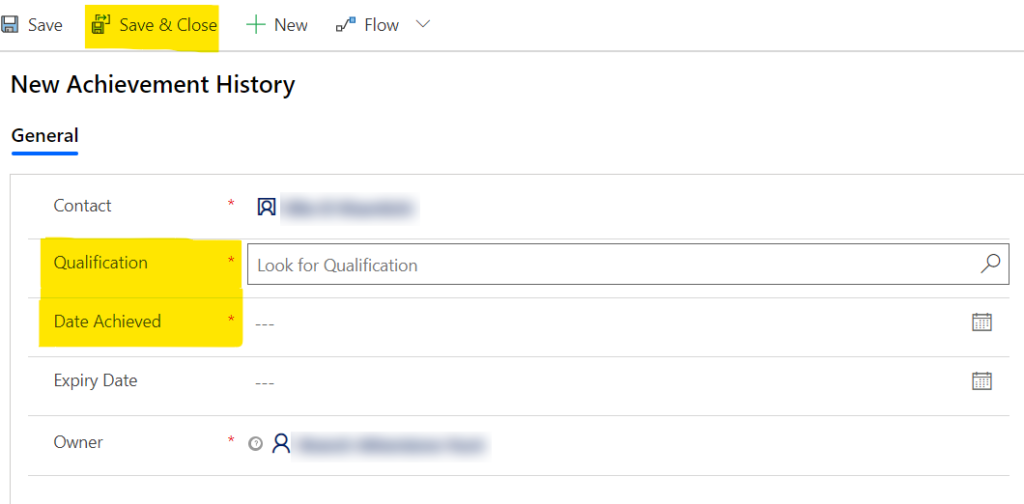
2. You will then be shown the ‘New Achievement History’ screen where you can add the achievement.
3. Fill in the Qualification and Date Achieved as highlighted below:
4. Finally Save & Close this screen.
Bulk Upload Achievements
How to bulk upload achievements
This will show how you can upload a of number of different achievements to more than one contact in one upload.
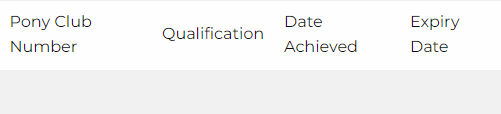
Firstly, you need to prepare the data using the following template and save as a CSV file:
Note: You do not need to fill in the ‘Expiry Date’ column
To download a copy of the template click below:
Next, select ‘Achievement History’ from the left-hand panel of Pelham, shown below:
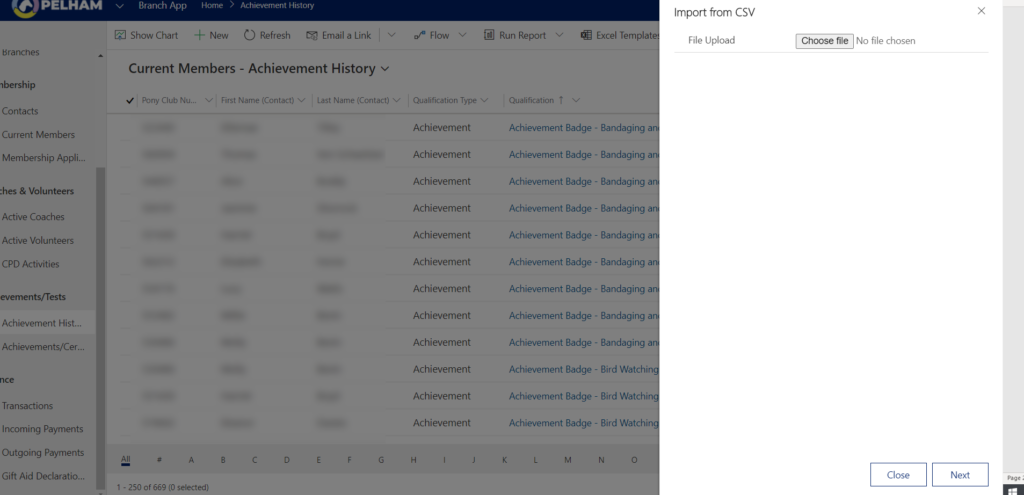
You will be taken to the ‘Current Members – Achievement History’ screen.
3. On the right-hand side, you will notice an arrow next to ‘Import from Excel’, click this arrow and select ‘Import from CSV’ from the dropdown that appears:
Note: If there is not an ‘Import from Excel’ option visible, look for the 3 vertical dots as shown below:
Then ‘Import from Excel’ will appear. Next click the arrow and select ‘Import from CSV’:
4. Select ‘choose file’ and upload your CSV file, then click next:
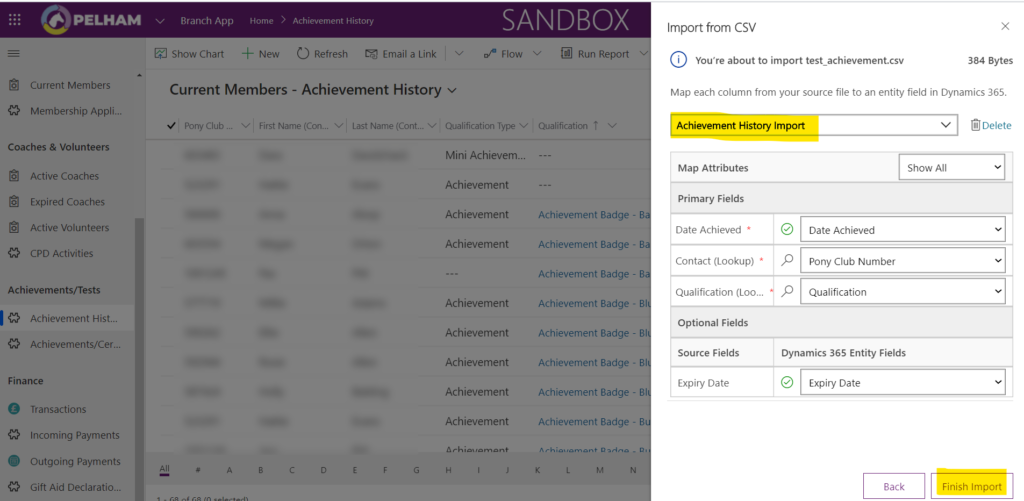
5. On the next screen click ‘Review Mapping’.
6. Using the arrow next to ‘Name Your Data Map’ select ‘Achievement History Import’:
7. Finally click ‘Finish Import’ and your achievements will be uploaded.
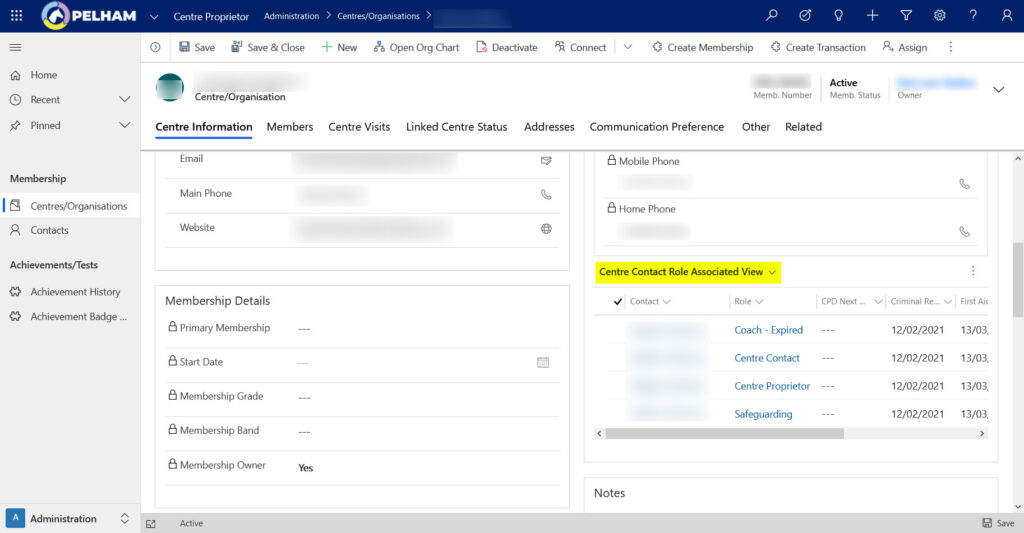
To view the coaches currently associated to your Centre, go to your Centre Summary page and scroll down to the “Centre Contact Role Associated View”:
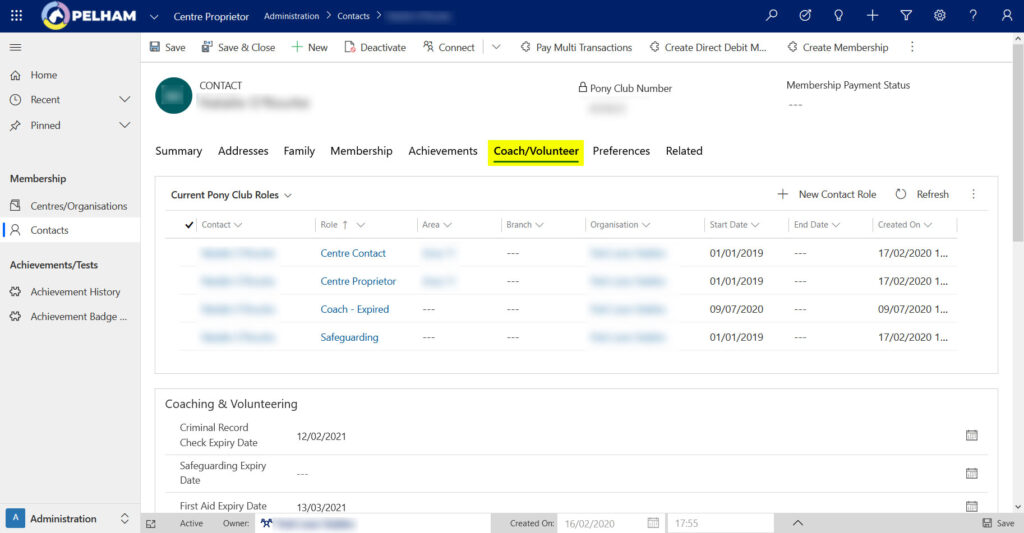
In this section you can view a snapshot of your coaches’ certifications. If you would like to view more details on a specific coach, click on their name to view their contact record. From here you can use the “Coach/Volunteer” tab to view further details about their certifications:
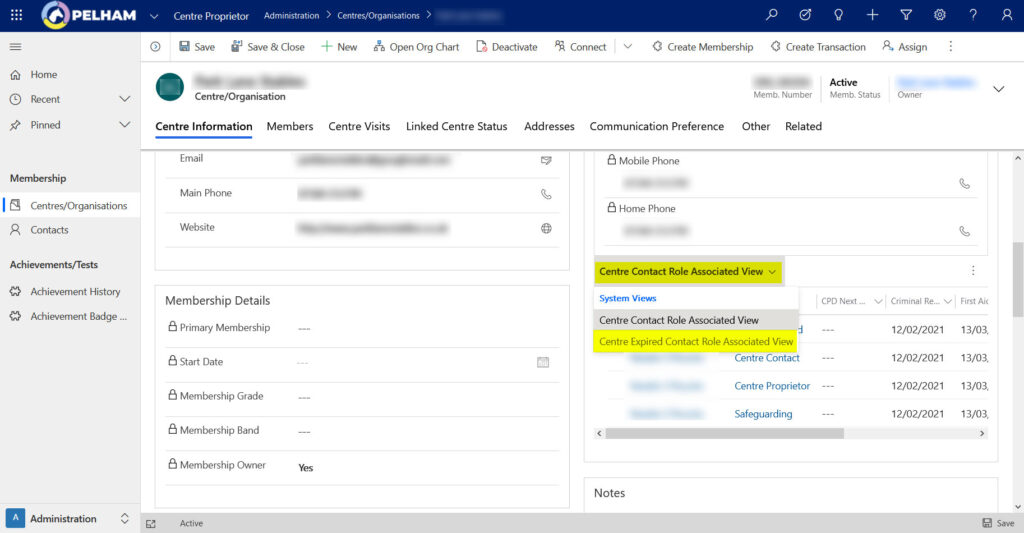
To view a snapshot of your expired coaches, go to your Centre Summary page and click on the dropdown next to the “Centre Contact Role Associated View” section. You can then change the view to show your expired coaches:
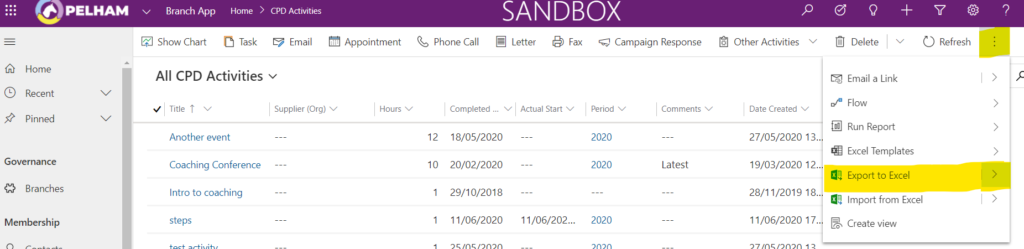
Select any of the following from the side panel of Pelham as highlighted below:
Contacts
Current Members
Active Coaches
Achievement History
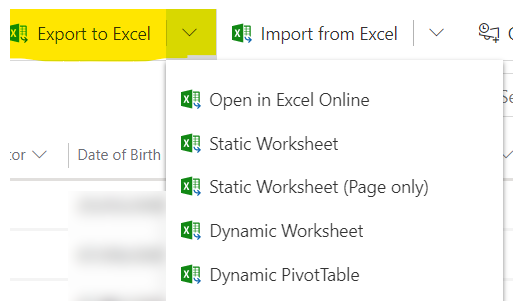
Then choose the view showing the information you want to export:
Working with tablets
If you are using an iPad or other tablet and wish to export data to Excel, we recommend using the ‘Open in Excel Online’ option:
2. You will notice the arrow by ‘Export to Excel’ here, you can choose the way you export the data. (If there is not an ‘Export to Excel’ option visible, look for the 3 vertical dots and you will find it here:
3. Finally download the file and save securely to your computer.